Budgeting a metal roof can feel foggy. Prices swing with materials and weather. Let’s make it clear and calm.
You want a firm number before you sign. You also want no surprises once the crew starts. This guide shows the parts, the price drivers and the smart moves.
We’ll keep it simple and local.
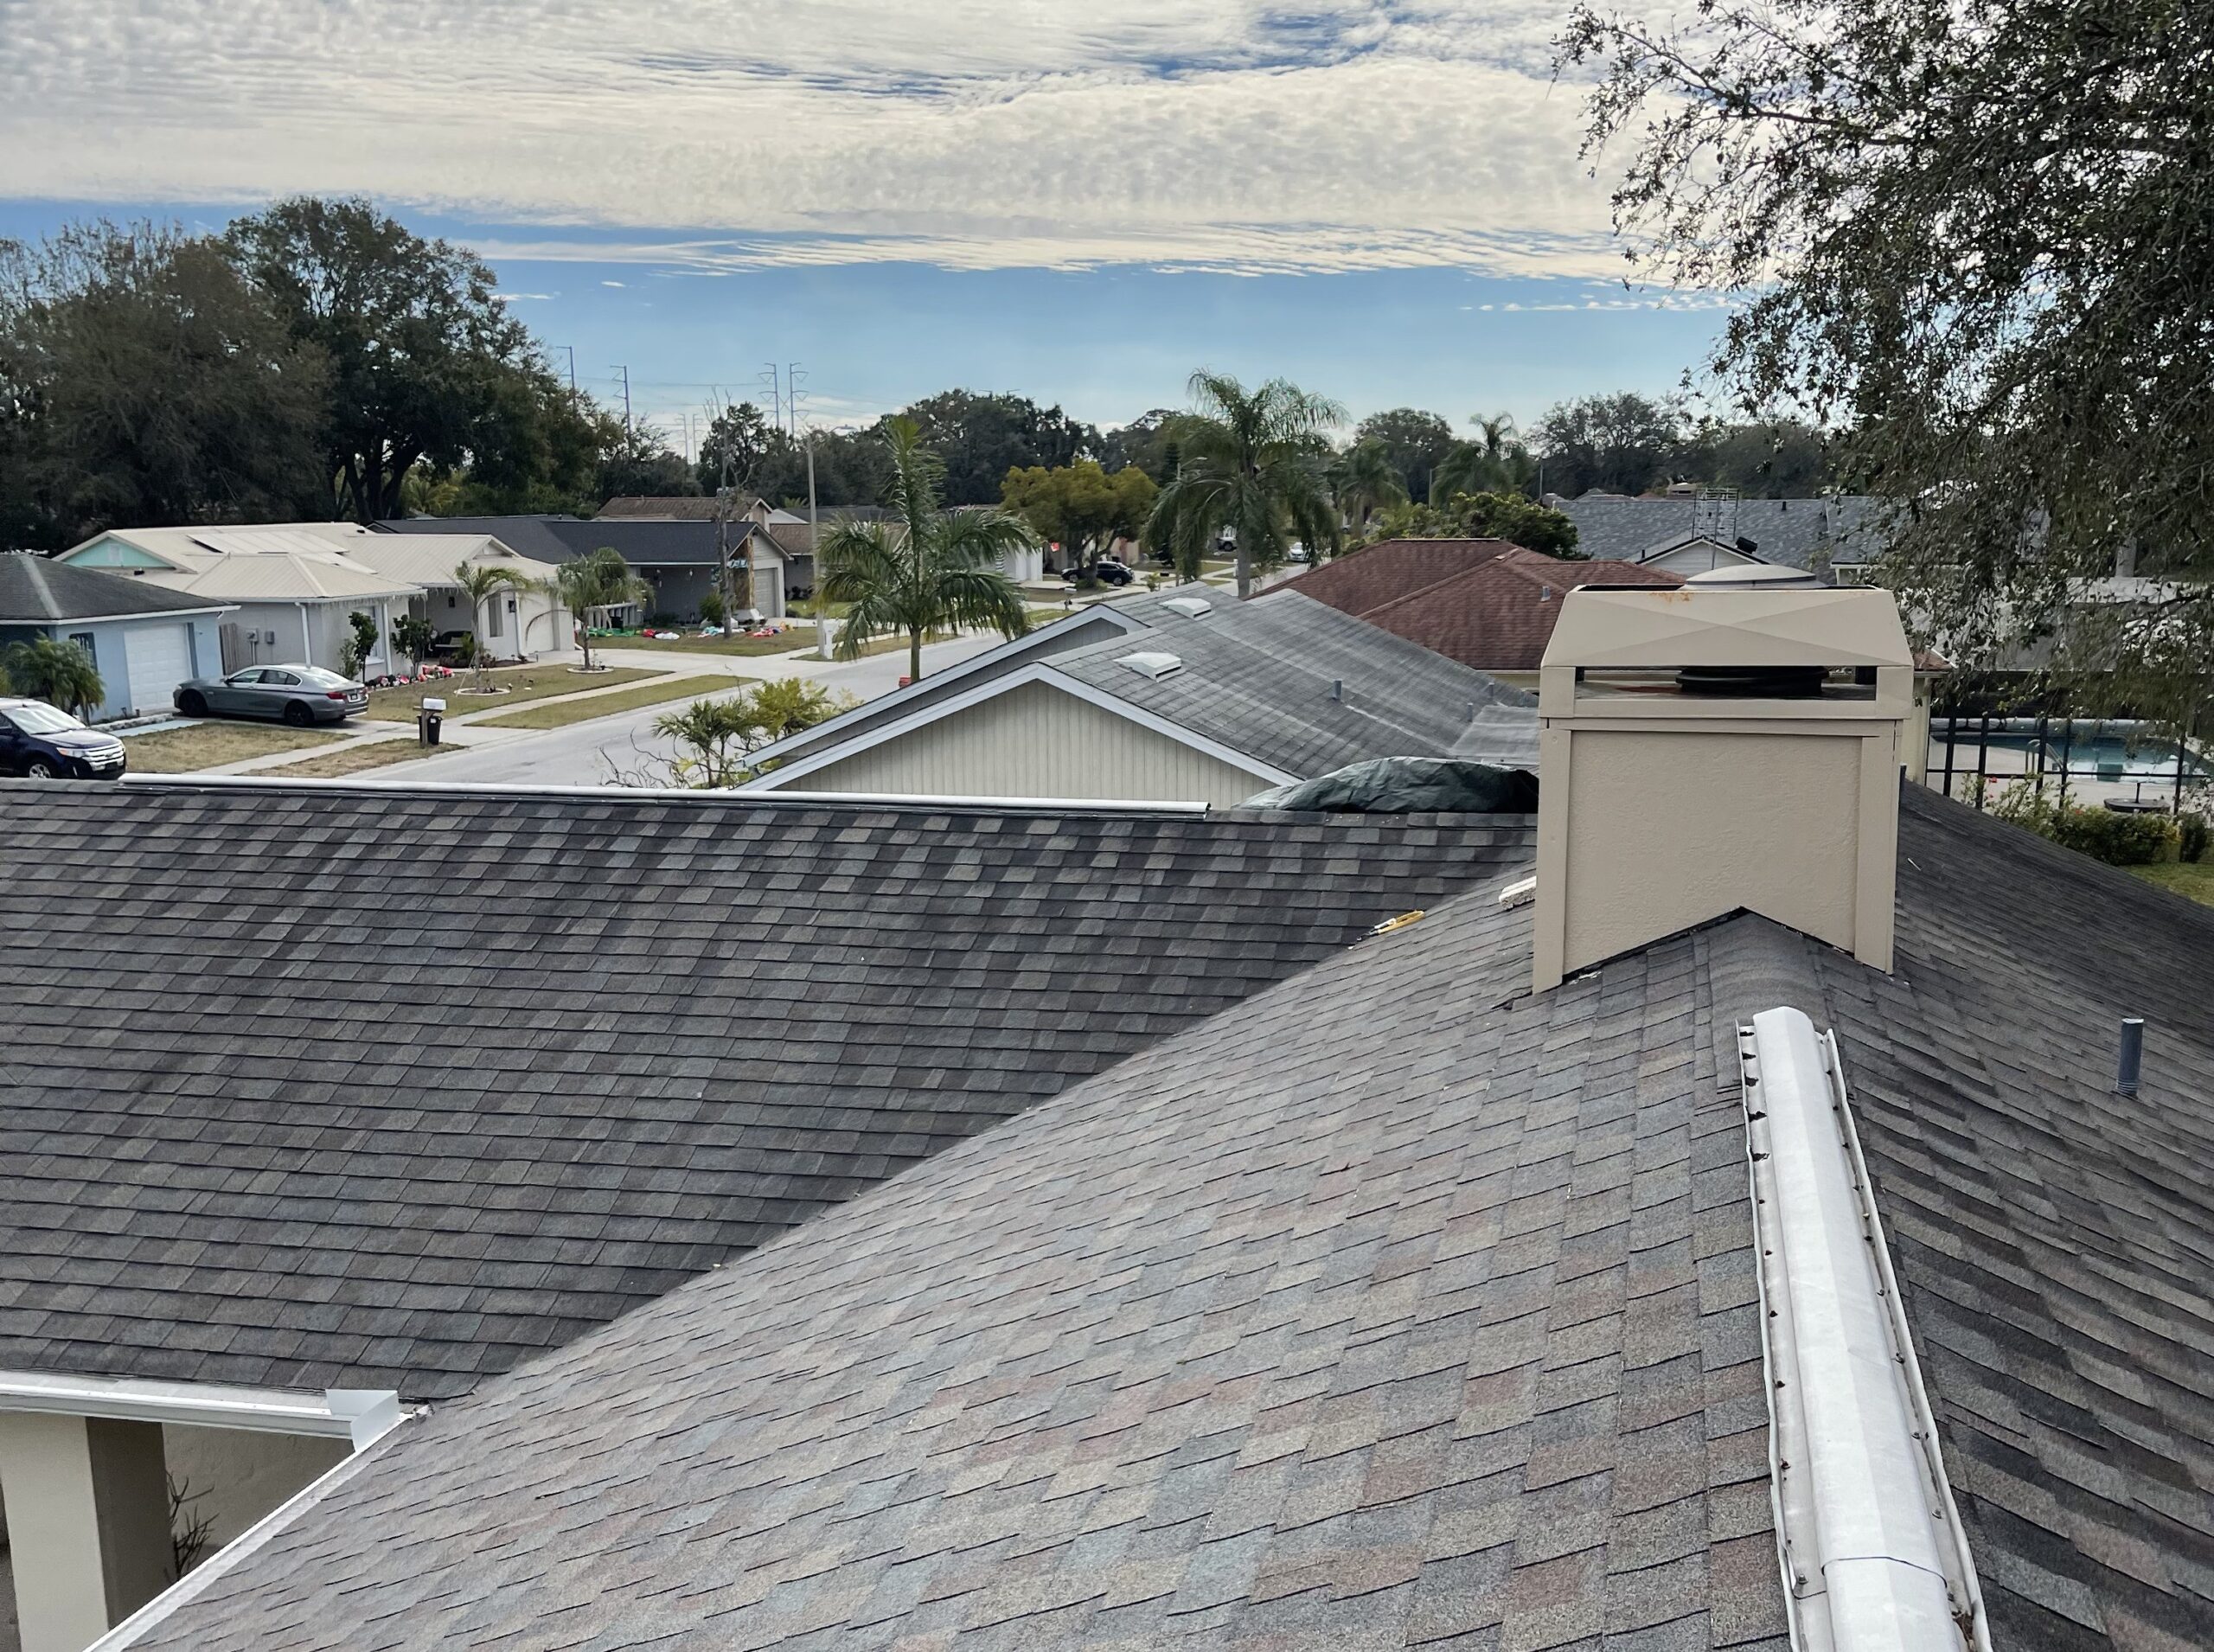
Tampa Bay homes sit in sun, salt air and storm paths. Planning well saves money and stress. We’ll show where the dollars go for new roof installations and how to compare bids the right way.
What Drives the Price in Tampa Bay
For Metal Roof Installation, local weather is the first driver. Salt air, hard sun, and sudden downpours punish weak details. Coatings and trims that work inland can fade or corrode faster near the water.
Wind ratings also shape the scope. Florida Building Code sets fastening patterns and edge metal. Tested panel systems, correct clip spacing, and strong eaves help the roof stay quiet in gusts.
Step 1: Define Scope and Goals
Decide what this job includes. Full tear-off or an overlay where code allows. Any deck fixes. New gutters. Skylight replacements. Attic ventilation upgrades. Note your must-haves, nice-to-haves, and items you’ll defer.
Step 2: Measure Roof Size, Pitch and Complexity
Roof size drives material and labor. We measure in “squares” (100 square feet). Steeper slopes slow crews and require more safety gear. Valleys, hips, dormers, and chimneys add cuts and flashings. Tight access for dumpsters or lifts can add time.
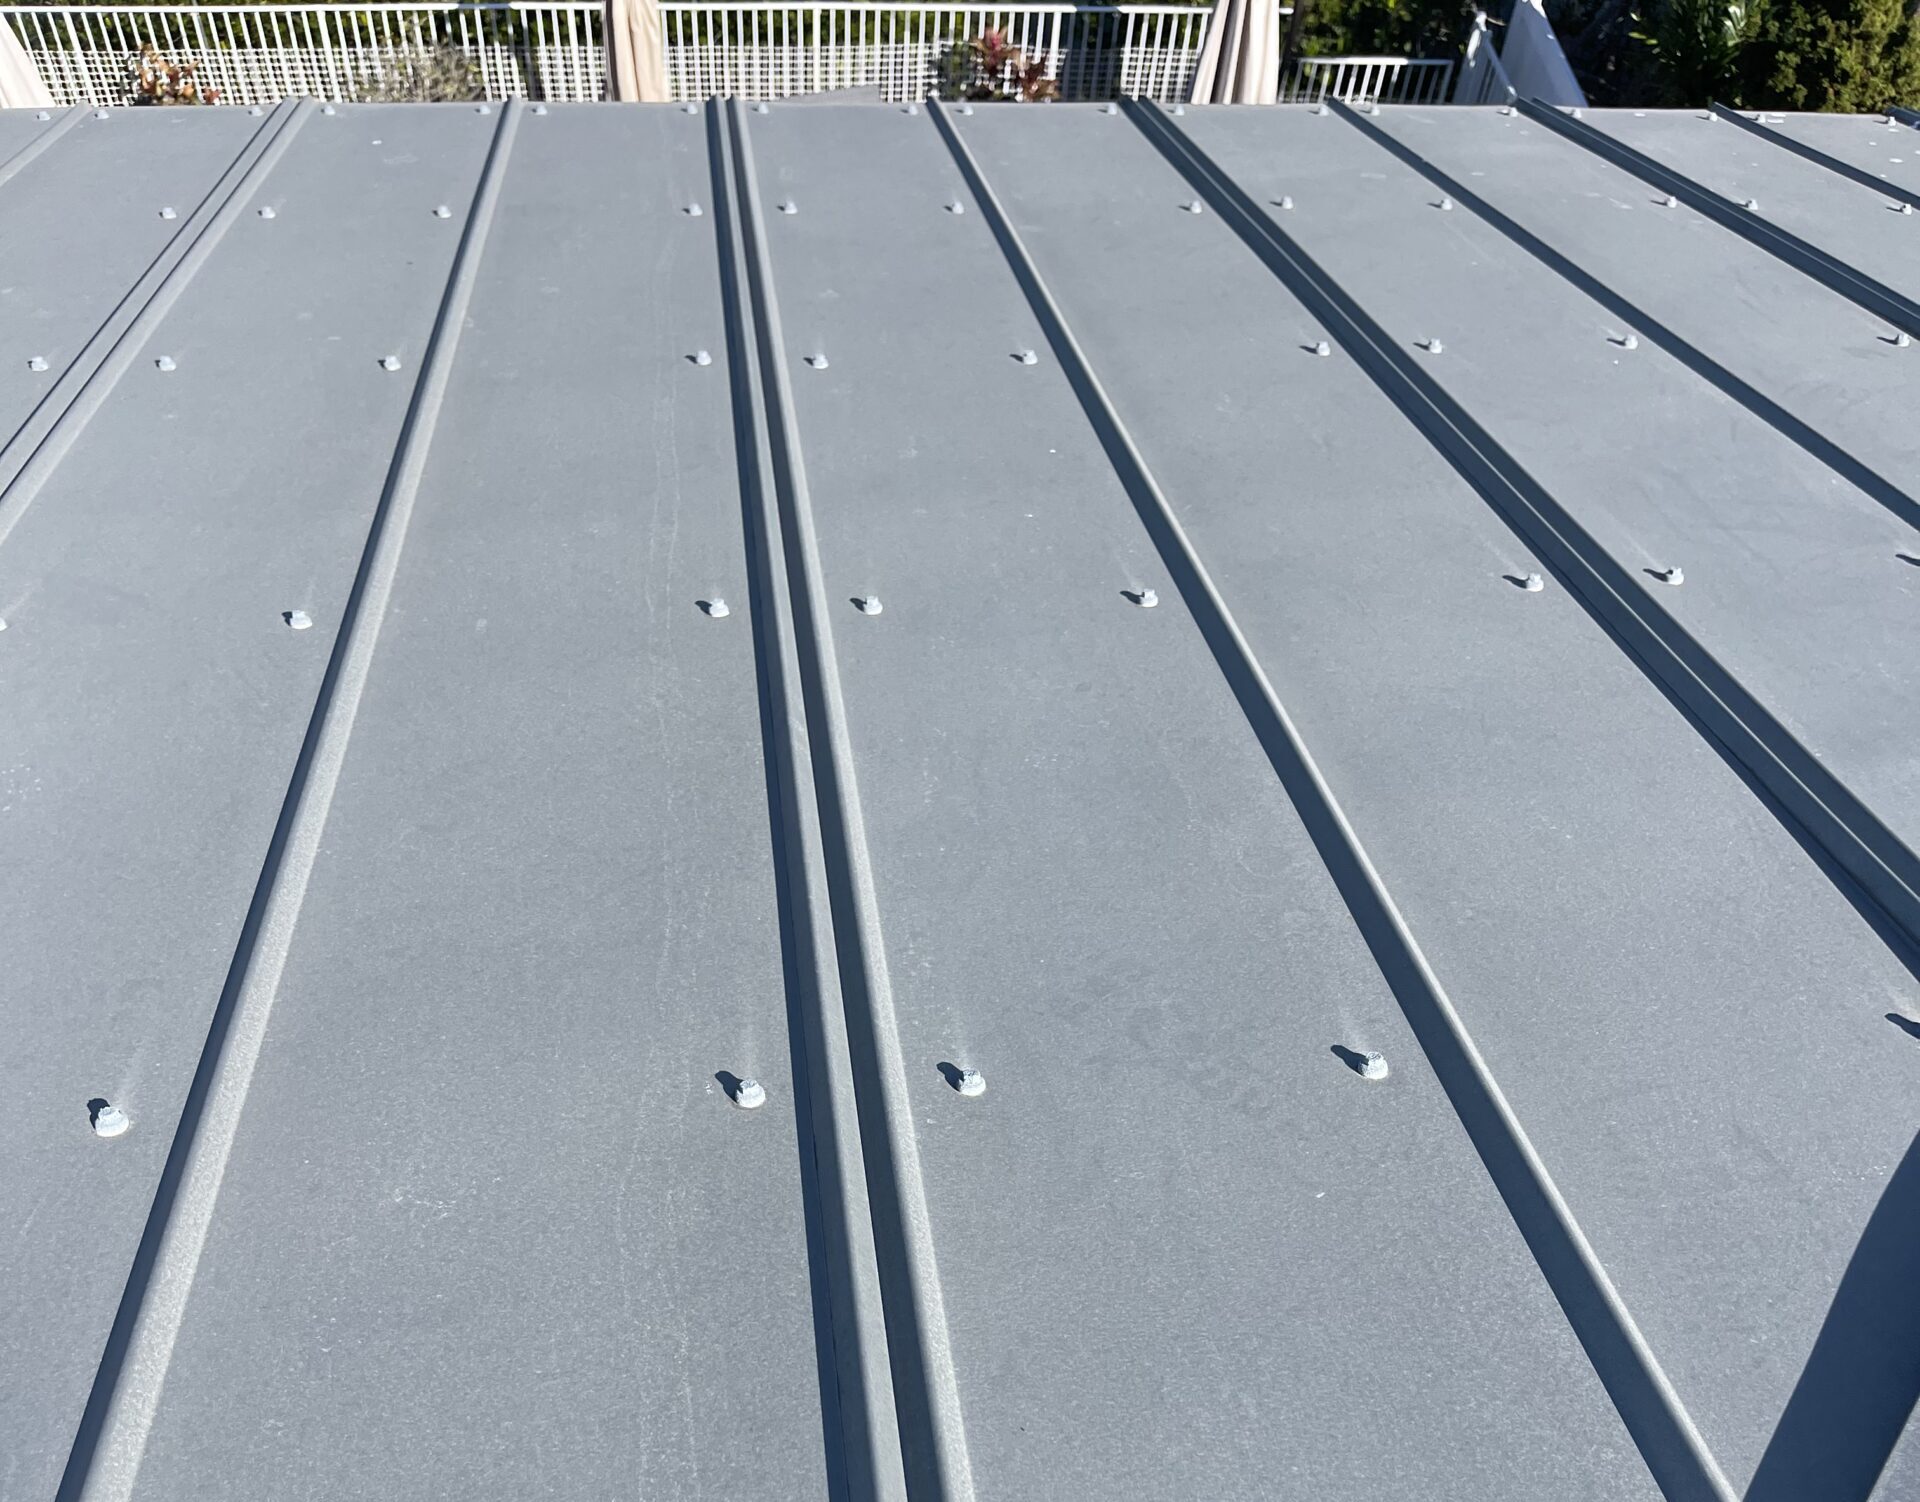
Step 3: Choose Panel Type and Coating
Exposed-fastener panels cost less and install faster. They work well on simple roofs with the right underlayment and details. Standing seam hides the fasteners and offers top wind and water performance.
Coating and substrate matter on the coast. Premium paint systems resist UV and chalk. Galvalume works across most neighborhoods; aluminum shines near heavy salt spray. Standing seam protects most new roof installations on the coast, especially for complex residential roof installations with hips and valleys.
Step 4: Underlayment, Flashing and Ventilation
Peel-and-stick underlayment seals around fasteners and grips the deck in heat. Valley pans, pipe boots, and wall flashings steer water during cloudbursts. Ridge vents and open soffits let hot, moist attic air escape. Venting keeps the deck drier and helps paint systems age well.
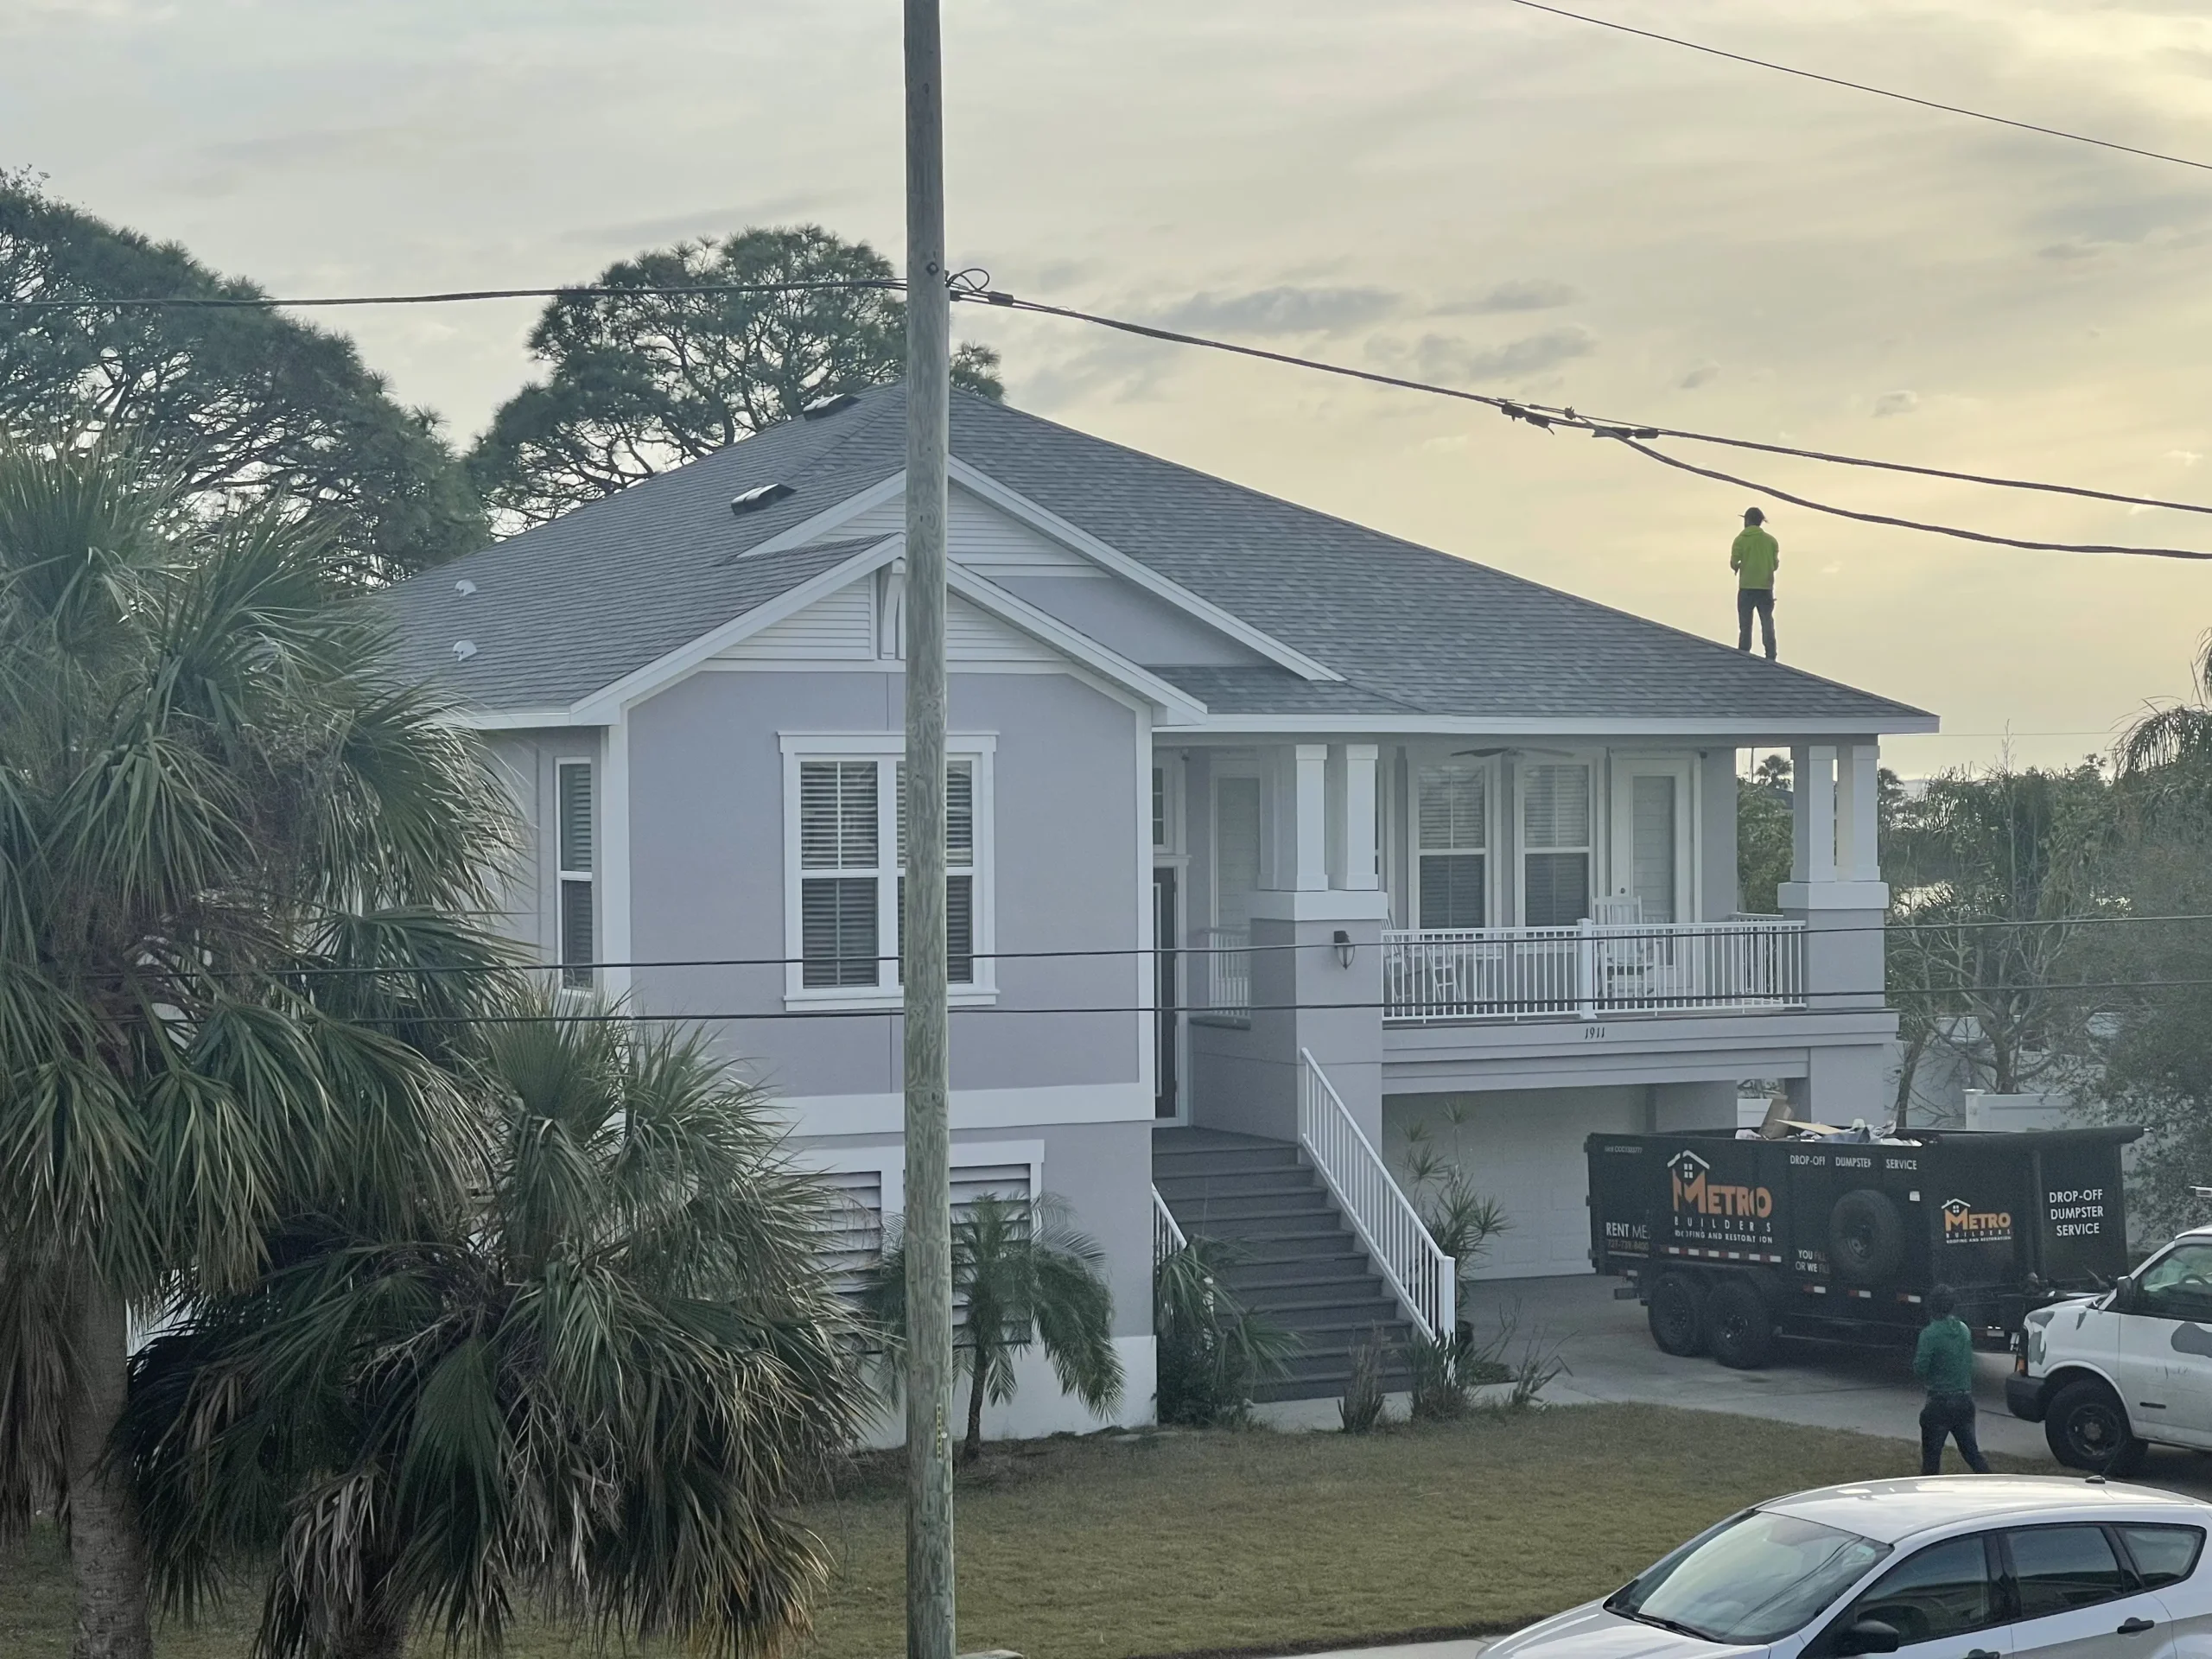
Step 5: Labor, Mobilization and Schedule
Crew size and skill affect daily output. Summer heat slows pacing for safety. Afternoon storms push work to mornings. Crane days, lifts, and material staging add cost but save time. Clear access and a clean driveway save hours.
Step 6: Permits, Inspections, and Wind Ratings
Florida Building Code sets wind zones, fastening patterns, and approved systems. Your bid should name the panel, clips, fasteners, and underlayment that meet those requirements. Inspectors check these layers. Paperwork protects your warranty and resale.
Step 7: Tear-Off, Deck Repair, and Disposal
Older roofs hide soft spots. Plan an allowance for deck repair. Note how many sheets of plywood are included and at what rate. Confirm dumpster size, driveway protection, and disposal fees. Ask how the crew separates metal scrap for recycling.
Step 8: Build a Line-Item Budget
Use this guide to scope new roof installations in Tampa Bay and estimate the new roof installation cost without surprises.
| Item | Typical Range | Notes |
| Permit & engineering | $250–$900 (flat) | City/county and wind docs |
| Tear-off & disposal | $75–$150 per square | Heavier layers cost more |
| Deck repair allowance | $60–$120 per sheet | 4×8 plywood or OSB |
| Peel-and-stick underlayment | $75–$150 per square | Coastal-grade |
| Exposed-fastener metal | $650–$1,000 per square | Material + trim |
| Standing seam metal | $900–$1,600 per square | Material + trim |
| Trim & flashing package | $10–$20 per LF | Valleys, eaves, gables |
| Fasteners, sealants, tapes | $50–$120 per square | Butyl/closure strips |
| Ridge vent & accessories | $6–$12 per LF | Includes caps |
| Soffit vent upgrades | $5–$10 per LF | As needed |
| Skylight (replace) | $800–$1,800 each | Curb + flashing |
| Gutters & downspouts | $8–$18 per LF | Aluminum, seamless |
| Labor install | $350–$700 per square | Pitch and complexity |
| Mobilization & safety | $300–$900 (flat) | Lift, harness, setup |
| Cleanup & final haul-off | $200–$500 (flat) | Magnets, sweep |
| Contingency | 5%–10% of total | Weather, small changes |
These ranges are guides. Your roof, site and panel choice set the final number.
Step 9: Compare Bids the Right Way
Line up the same scope on each bid. Same panel brand, gauge, and coating. Same underlayment type. Same flashing list. Same ridge vent, clip spacing, and fastener type.
Check crew details. Who installs the roof, and who inspects hidden layers. Ask for a schedule that fits storm season. That way, the new roof installation cost you see is real, not guesswork.
Step 10: Cost-Saving Tips Without Cutting Corners
Keep the design simple during Metal Roof Installation. Fewer cuts mean fewer flashings and fewer leak points. Choose a standard color with strong UV performance. Bundle gutters and attic vent work in the same mobilization. Fix leaky skylights now, so you do not pay twice later. Invest in underlayment and edge metal because those parts stop wind-driven rain when storms pop at 3 p.m. These choices keep residential roof installations affordable without added risk.
Timeline and Cash-Flow Plan
Most projects use a deposit, one or two progress payments and a final payment after inspection. Ask how long materials take to arrive. Plan for weather holds. Keep a small contingency for deck repairs or extra trim. Confirm what triggers each payment and what photos you’ll receive for hidden work.
Final Takeaway
A clear scope and a clean checklist make budgeting simple. Match the system to Florida wind and salt. Compare true apples to apples for new roof installations and stick to the plan. Your numbers will make sense – and your roof will, too.
We plan, price, and install metal roofs across Tampa, St. Petersburg, and Clearwater. If you want a clear scope, firm numbers, and a steady schedule for new roof installations, we’re ready to help. Let’s build a line-by-line budget that fits your home and your timeline.
FAQs
How long does a metal roof project take?
Most homes take one to two weeks once materials are on site. Weather, complexity and inspections affect timing.
What warranties should I expect?
You’ll see paint and substrate warranties from the manufacturer and a workmanship warranty from the contractor. Keep permits and photos to protect coverage.
Do you offer financing?
Yes, we do! Our team can walk you through available plans, flexible terms and rate options.